/ 03
Site Setup
Menus, logo, widget areas, front-page setup, and the quote-form hook.
Menus
Fieldcraft has four menu locations. Create each menu and assign it to its location:
| Menu location | Registered slug | Where it appears |
|---|---|---|
| Primary Menu | primary | Main header navigation |
| Footer — Trades | footer-trades | Footer column listing your services/trades |
| Footer — Company | footer-company | Footer column for About/Contact/Blog-type links |
| Legal (bottom bar) | legal | Small print row at the very bottom of the footer (Privacy, Terms) |
- Go to Appearance → Menus.
- Click create a new menu, give it a name (e.g. “Primary”), and add your pages/links from the left-hand panel.
- Under Menu Settings at the bottom, tick the checkbox for the matching Display location (for example, tick “Primary Menu” for your header nav).
- Click Save Menu.
- Repeat steps 2–4 for each of the four locations — each is a separate menu with its own display-location checkbox.

The most common cause is forgetting to tick the display-location checkbox after building the menu, or building the menu but never clicking Save Menu. See also FAQ — menu not showing.
Logo
- Go to Appearance → Customize → Site Identity.
- Click Select logo.
- Choose an image from the Media Library, or upload a new one. Recommended size is roughly 240×48px, but the theme accepts any size and scales it — both flexible width and height are supported.
- Click Select, then Publish to make it live.
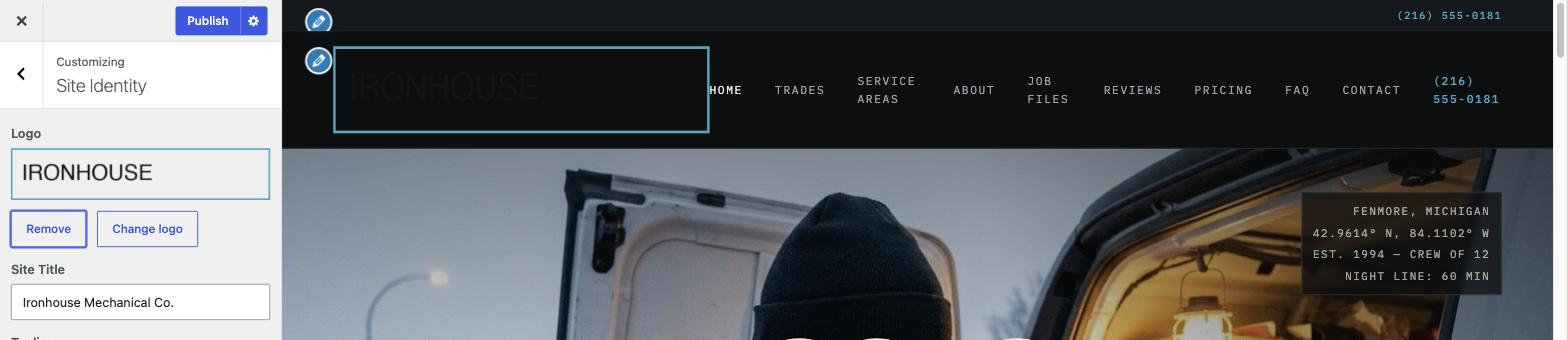
If you don't upload a logo, the header falls back to a wordmark built from your Site Title text (or the Header wordmark field, if you've set one — see Customizer → Header & Topbar).
Widget areas
| Widget area | ID | Where it appears |
|---|---|---|
| Footer — Newsletter Column | fieldcraft-footer-newsletter | Right-hand footer column. Leave it empty to keep the default "Send me the checklist" newsletter block; add a widget here to replace it. |
- Go to Appearance → Widgets (or Appearance → Customize → Widgets for a live preview while you edit).
- Find the Footer — Newsletter Column area.
- Add any block-based widget (a Paragraph, a Social Icons block, a Mailchimp/Newsletter plugin's block, etc.). Adding anything here replaces the default newsletter blurb.
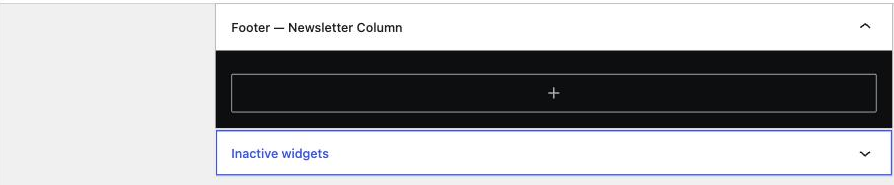
Fieldcraft's single-post and archive templates are intentionally single-column, full-width layouts — there is no sidebar widget area anywhere in the theme. For cross-linking on blog posts, use the related-posts rail instead (see Blog Setup → Related posts).
Front page setup
- Go to Settings → Reading.
- Leave “Your homepage displays” on Your latest posts, or set a static page with no content — both render the full Fieldcraft demo home composition automatically.
- To replace the home page with your own design instead, create a page, add your own block content, and set A static page → that page as your Homepage. Once the page has content, Fieldcraft shows it instead of the demo composition.
- Fine-tune which home sections appear (or turn any off) in Customize → Home Sections, or on the Theme Options page's Home Sections tab — see Customizer → Home Sections.

The quote-request form
The "Tell us what broke" quote form on the closer band and contact page posts to
admin-post.php. Fieldcraft Core (the companion plugin) validates and
processes the form — it verifies the nonce and sanitizes every field — not the theme
itself; the theme only renders the form markup. Fieldcraft Core also
does not send email — sending mail is deliberately left to a form plugin so
buyers aren't locked into one mail-delivery method. Instead, on a valid submission the companion
plugin fires this action hook:
do_action( 'fieldcraft_quote_submitted', $fields );where $fields is an array with keys name, street,
phone, broke and soon (all already sanitized). To route
submissions to your inbox or CRM:
- Open your child theme's
functions.php(or a small must-use plugin, or a form/companion plugin that supports custom hooks). - Add an
add_action( 'fieldcraft_quote_submitted', ... )callback — see the minimal example below. - Submit the form once on your live site to confirm the email arrives.
add_action( 'fieldcraft_quote_submitted', function( $fields ) {
    wp_mail(
        get_option( 'admin_email' ),
        'New quote request from ' . $fields['name'],
        "Street: {$fields['street']}\nPhone: {$fields['phone']}\nBroke: {$fields['broke']}\nHow soon: {$fields['soon']}"
    );
} );
Without anything hooked to this action, the form still validates, redirects back with a success message, and shows the inline "sent" confirmation — it simply won't deliver anywhere until you (or a plugin) hook the action above.
Phone, address, hours & email
All contact details (phone, email, address, hours, license line, coordinates) are Customizer fields, not hardcoded — edit them once in Customize → Contact & Identity (or the Theme Options page's Contact & Identity tab) and they update everywhere they appear (header, footer, JSON-LD). See Customizer → Contact & Identity.